Fox and Briar’s Creamy Basil Skillet Pork Chops
/0 Comments/in Fall, Winter Easy 15-30 Minutes, 20-30 Minutes Yes Light Success/by CalisseFox and Briar’s Creamy Basil Skillet Pork Chops
Recipe Overview
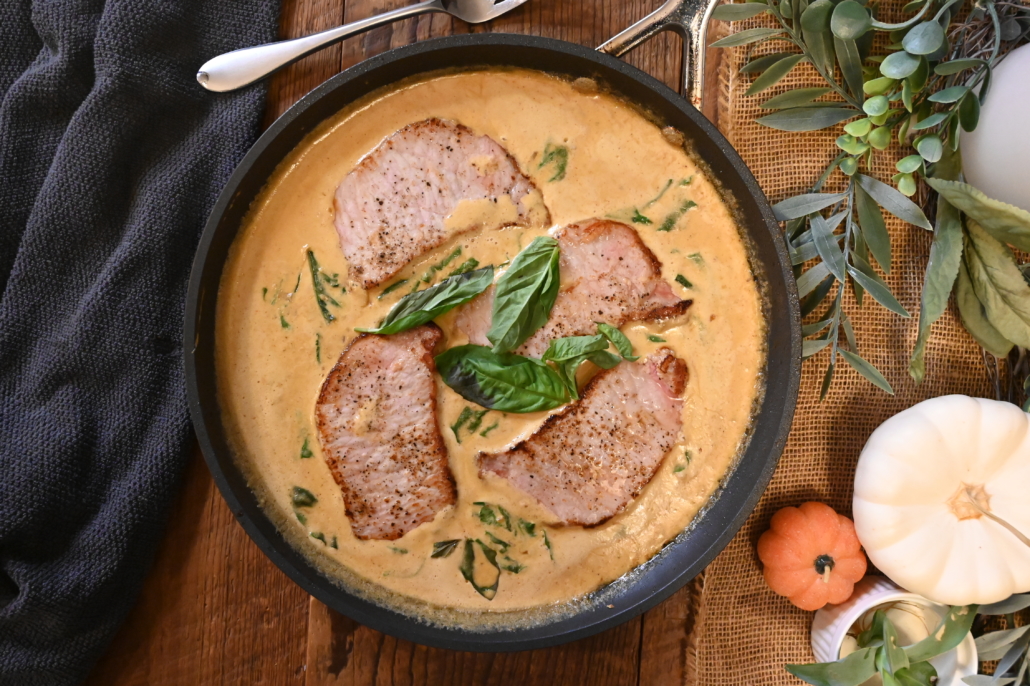
Pork chops can be finicky. And by finicky, I mean tough and unappetizing. But these, These! The Creamy Basil Skillet Pork Chops from Fox and Briar might be some of the best pork chops I’ve ever made. And they were simple. My favorite. These are a weeknight meal that will feed the whole family. Actually, I’m making them tonight!
Ingredients List
Ingredients:
- 1 pounds thin boneless pork chops
- 3 tablespoons butter
- 4 large garlic cloves minced
- 1/2 yellow onion finely minced
- 3-4 ounces roasted red peppers thinly sliced
- 1/4 teaspoon paprika
- 1 1/2 cups heavy cream
- 1 cup packed fresh basil leaves plus more for garnish
- 1 cup fresh grated parmesan
- 1/4 teaspoon crushed red pepper flakes
- 1/2 cup white wine or chicken stock
- salt to taste
- black pepper to taste
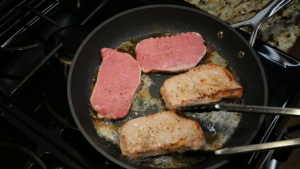
Step 1: Sear the Pork Chops
In a large non stick pan on medium-medium high heat, melt 2 tablespoons butter. Season pork chops with salt and pepper, then sear, 4-5 minutes on each side, until just cooked. Remove from the pan and set aside.
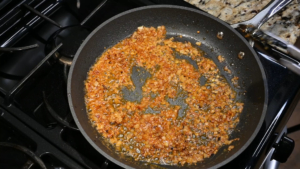
Step 2: Sauté the Onions
In the same skillet add 1 tablespoons butter. Add onion, garlic, peppers, paprika, red chili pepper flakes, salt and pepper. Sauté for about five minutes, until onions and peppers are softened.
Add wine to deglaze the skillet and bring to a gentle simmer until reduced by half.
NOTE: I left out the peppers for dietary reasons, although I’m sure it’s delicious with them!
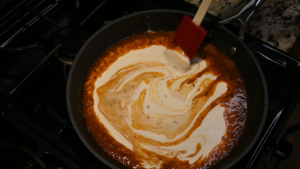
Step 3: Add the Cream
Reduce heat to medium low. Add cream to the skillet and stir until a creamy sauce forms. Add Parmesan, stir until melted into sauce. Taste sauce and adjust seasoning with salt and pepper if needed. Stir in basil, simmer until wilted, 1-2 minutes.
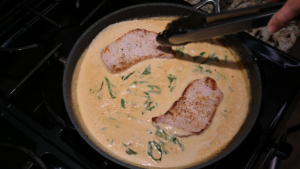
Step 4: Add Pork Chops
Add pork chops back to the skillet, allow to warm up if needed. Serve.
Enjoy!
Conclusion
If you’ve ever shied away from pork chops because they inevitably turn into hockey pucks, then let this recipe be your guide. Fox and Briar have given us (me and you!) a weeknight winner. Actually, as I was sitting in my home office working on this, the 9-year-old said “oh…those were good!” And that’s all you need to know!
Pumpkin Deviled Eggs
/0 Comments/in Fall, Winter Easy <10 Minutes, 15-30 Minutes Yes Light Fail/by Calisse
Pumpkin Deviled Eggs
Recipe Overview
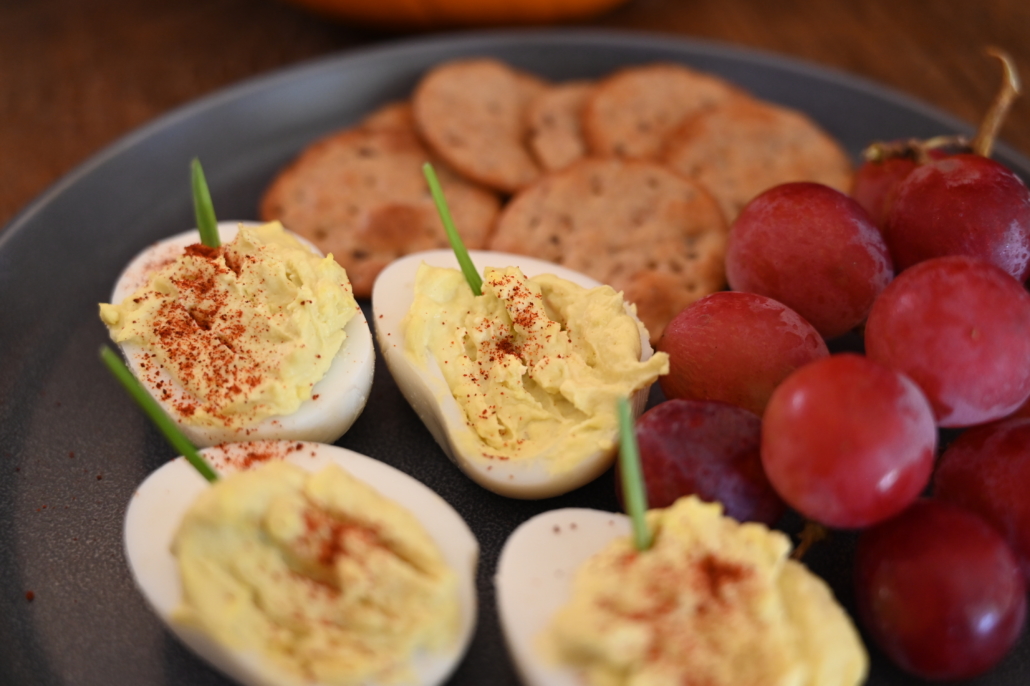
Ummmmm, put these in the fail category. Good idea, but it didn’t work out at all! Which I was super bummed about, because they looked so cute on Kathryn’s recipe card. I’ve made approximately a million deviled eggs in my life and thought I’d pretty them up using this recipe. It was too wet and I couldn’t get them to look like pumpkins at all. I’ll stick with my dijon mustard next time! In real life, these just didn’t make the cut.
Ingredients List
- 6 hard boiled eggs
- 2 tsp yellow mustard
- ¼ cup mayonnaise
- Salt and pepper to taste
- Chives (chopped)
- Paprika or red cayenne pepper (optional)
Step 1: Prep the Eggs
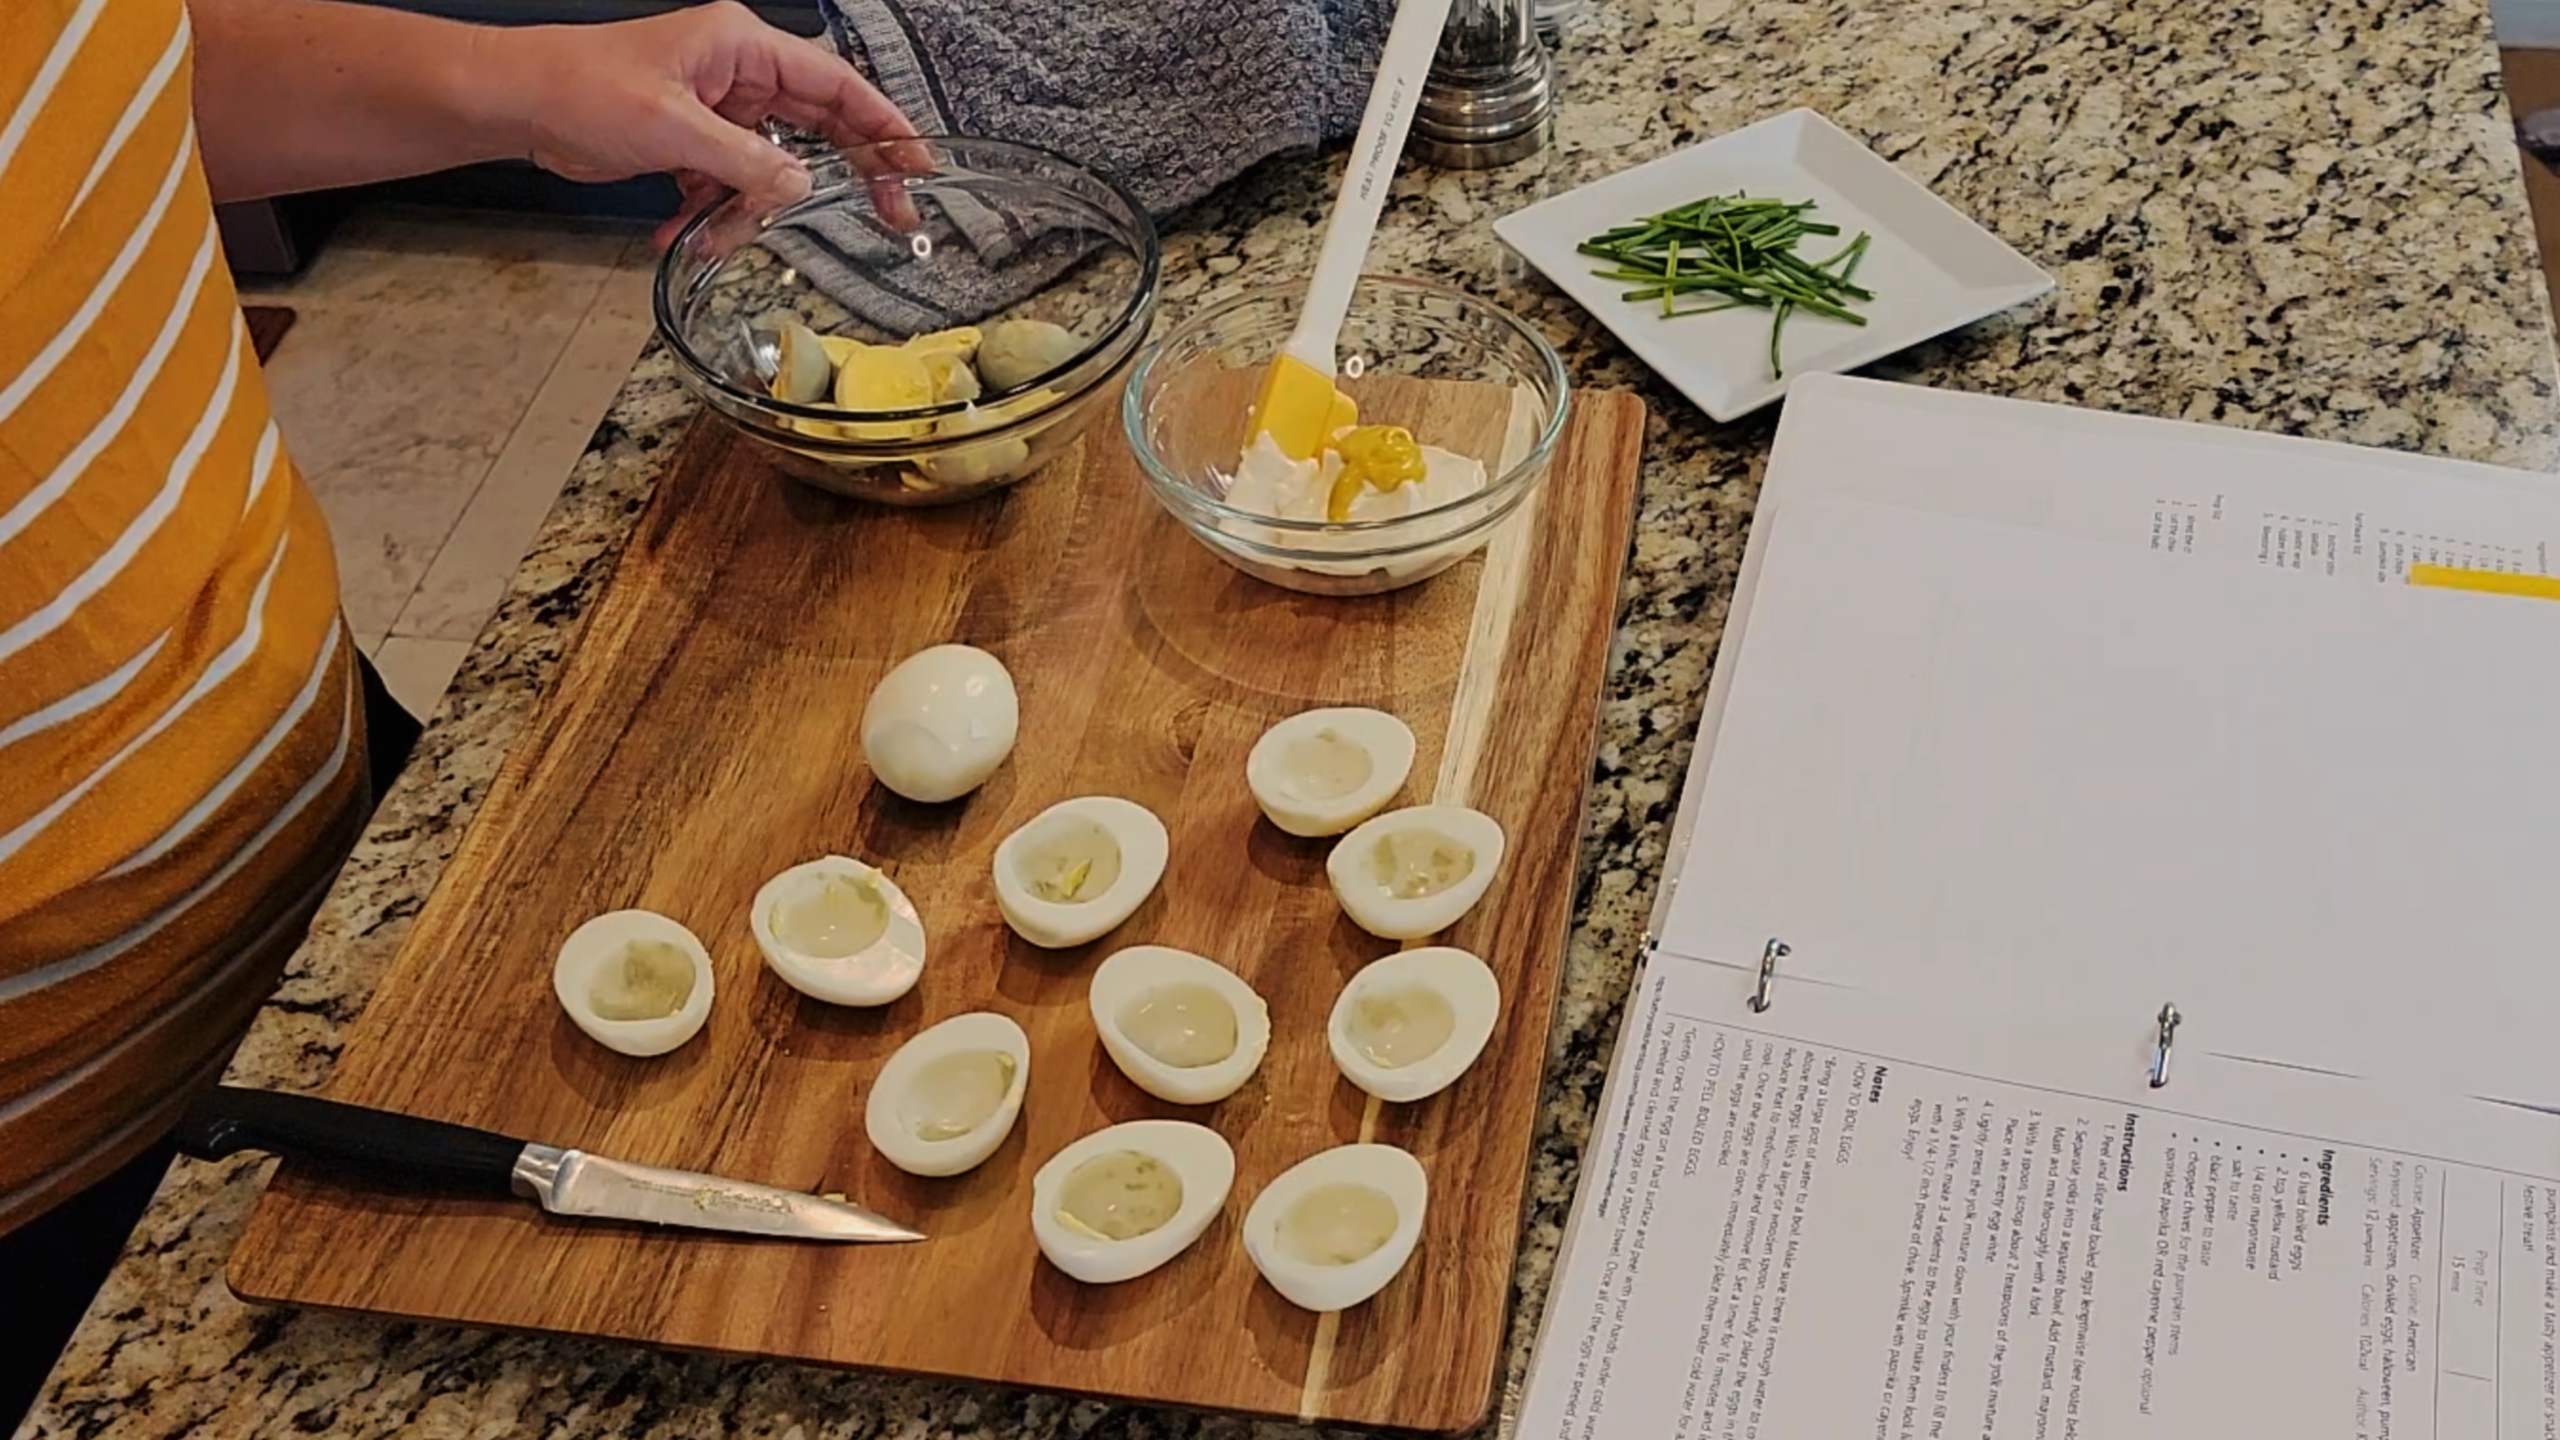
Peel the hard boiled eggs and slice lengthwise. Separate the yolks from the whites.
Step 2: Make the Filling
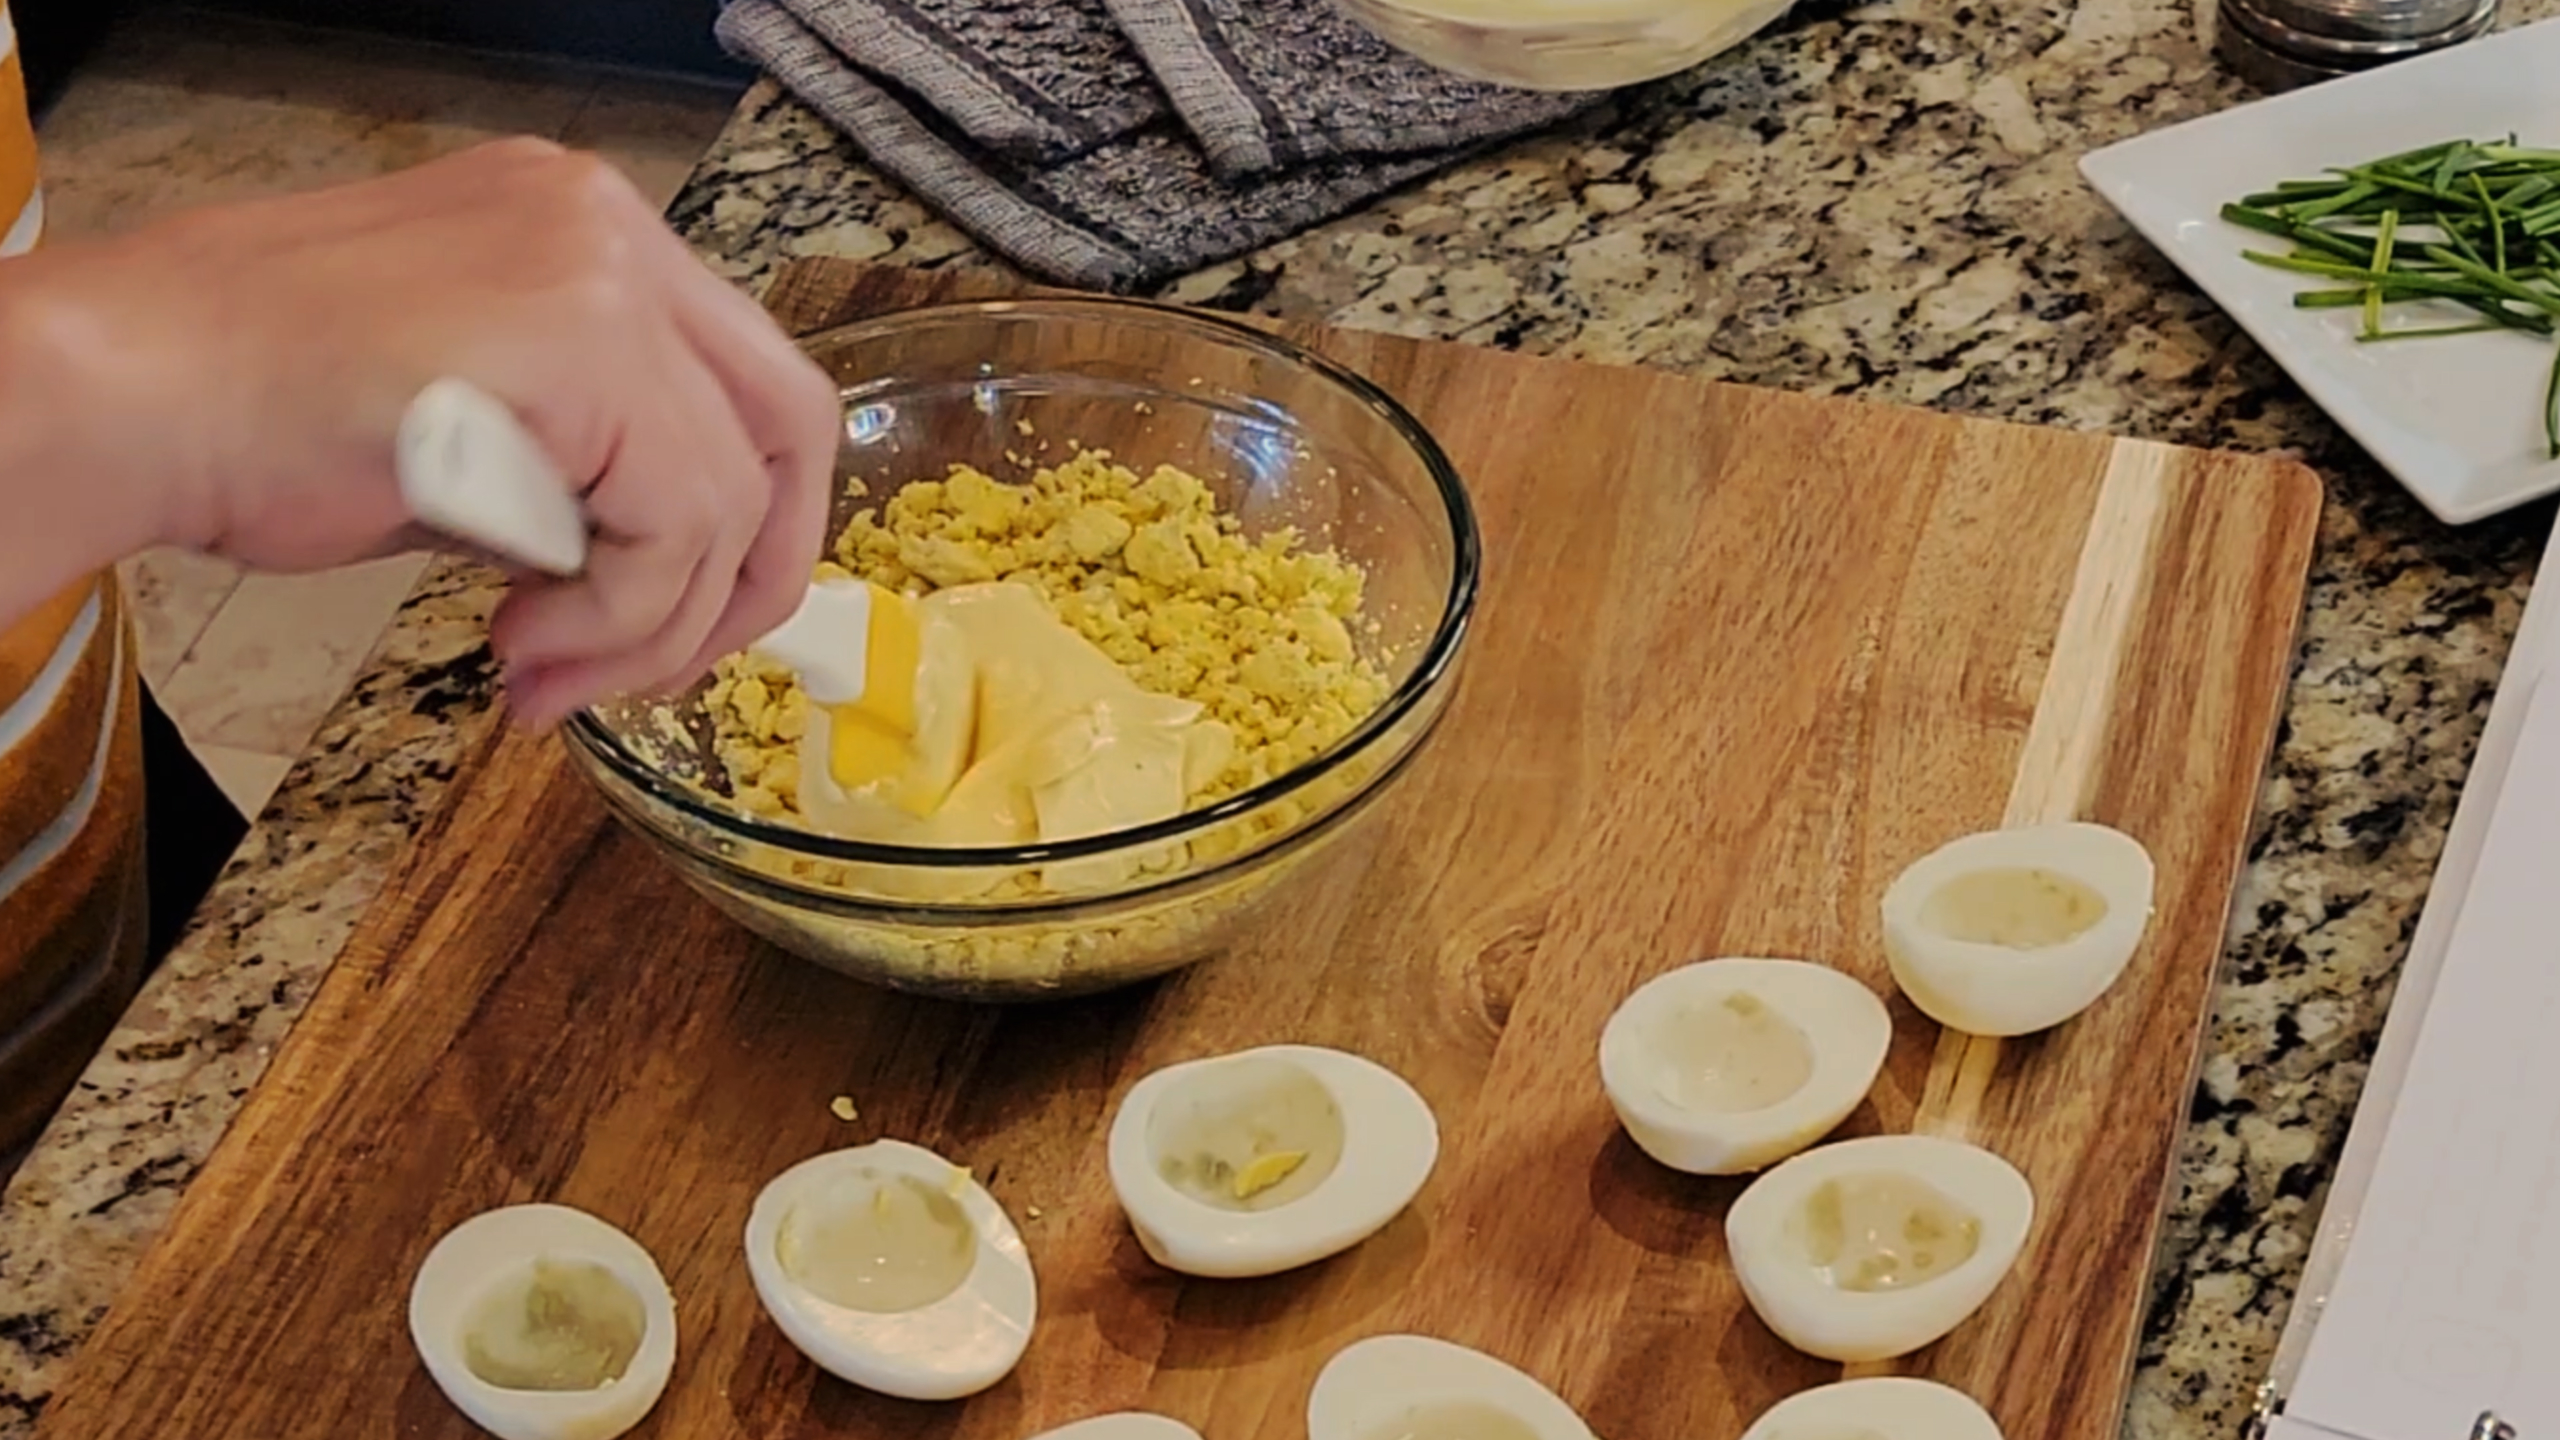
Mix yolks, mustard, mayonnaise, salt and pepper together in a bowl.
NOTE: We all prefer dijon over yellow mustard. Use your preference. If you want to try to make these into pumpkins, I’d leave the mayonnaise out until the end and add a little at a time until you get a consistency that will allow you to impress the lines.
Step 3: Scoop and Roll it Until it is Round
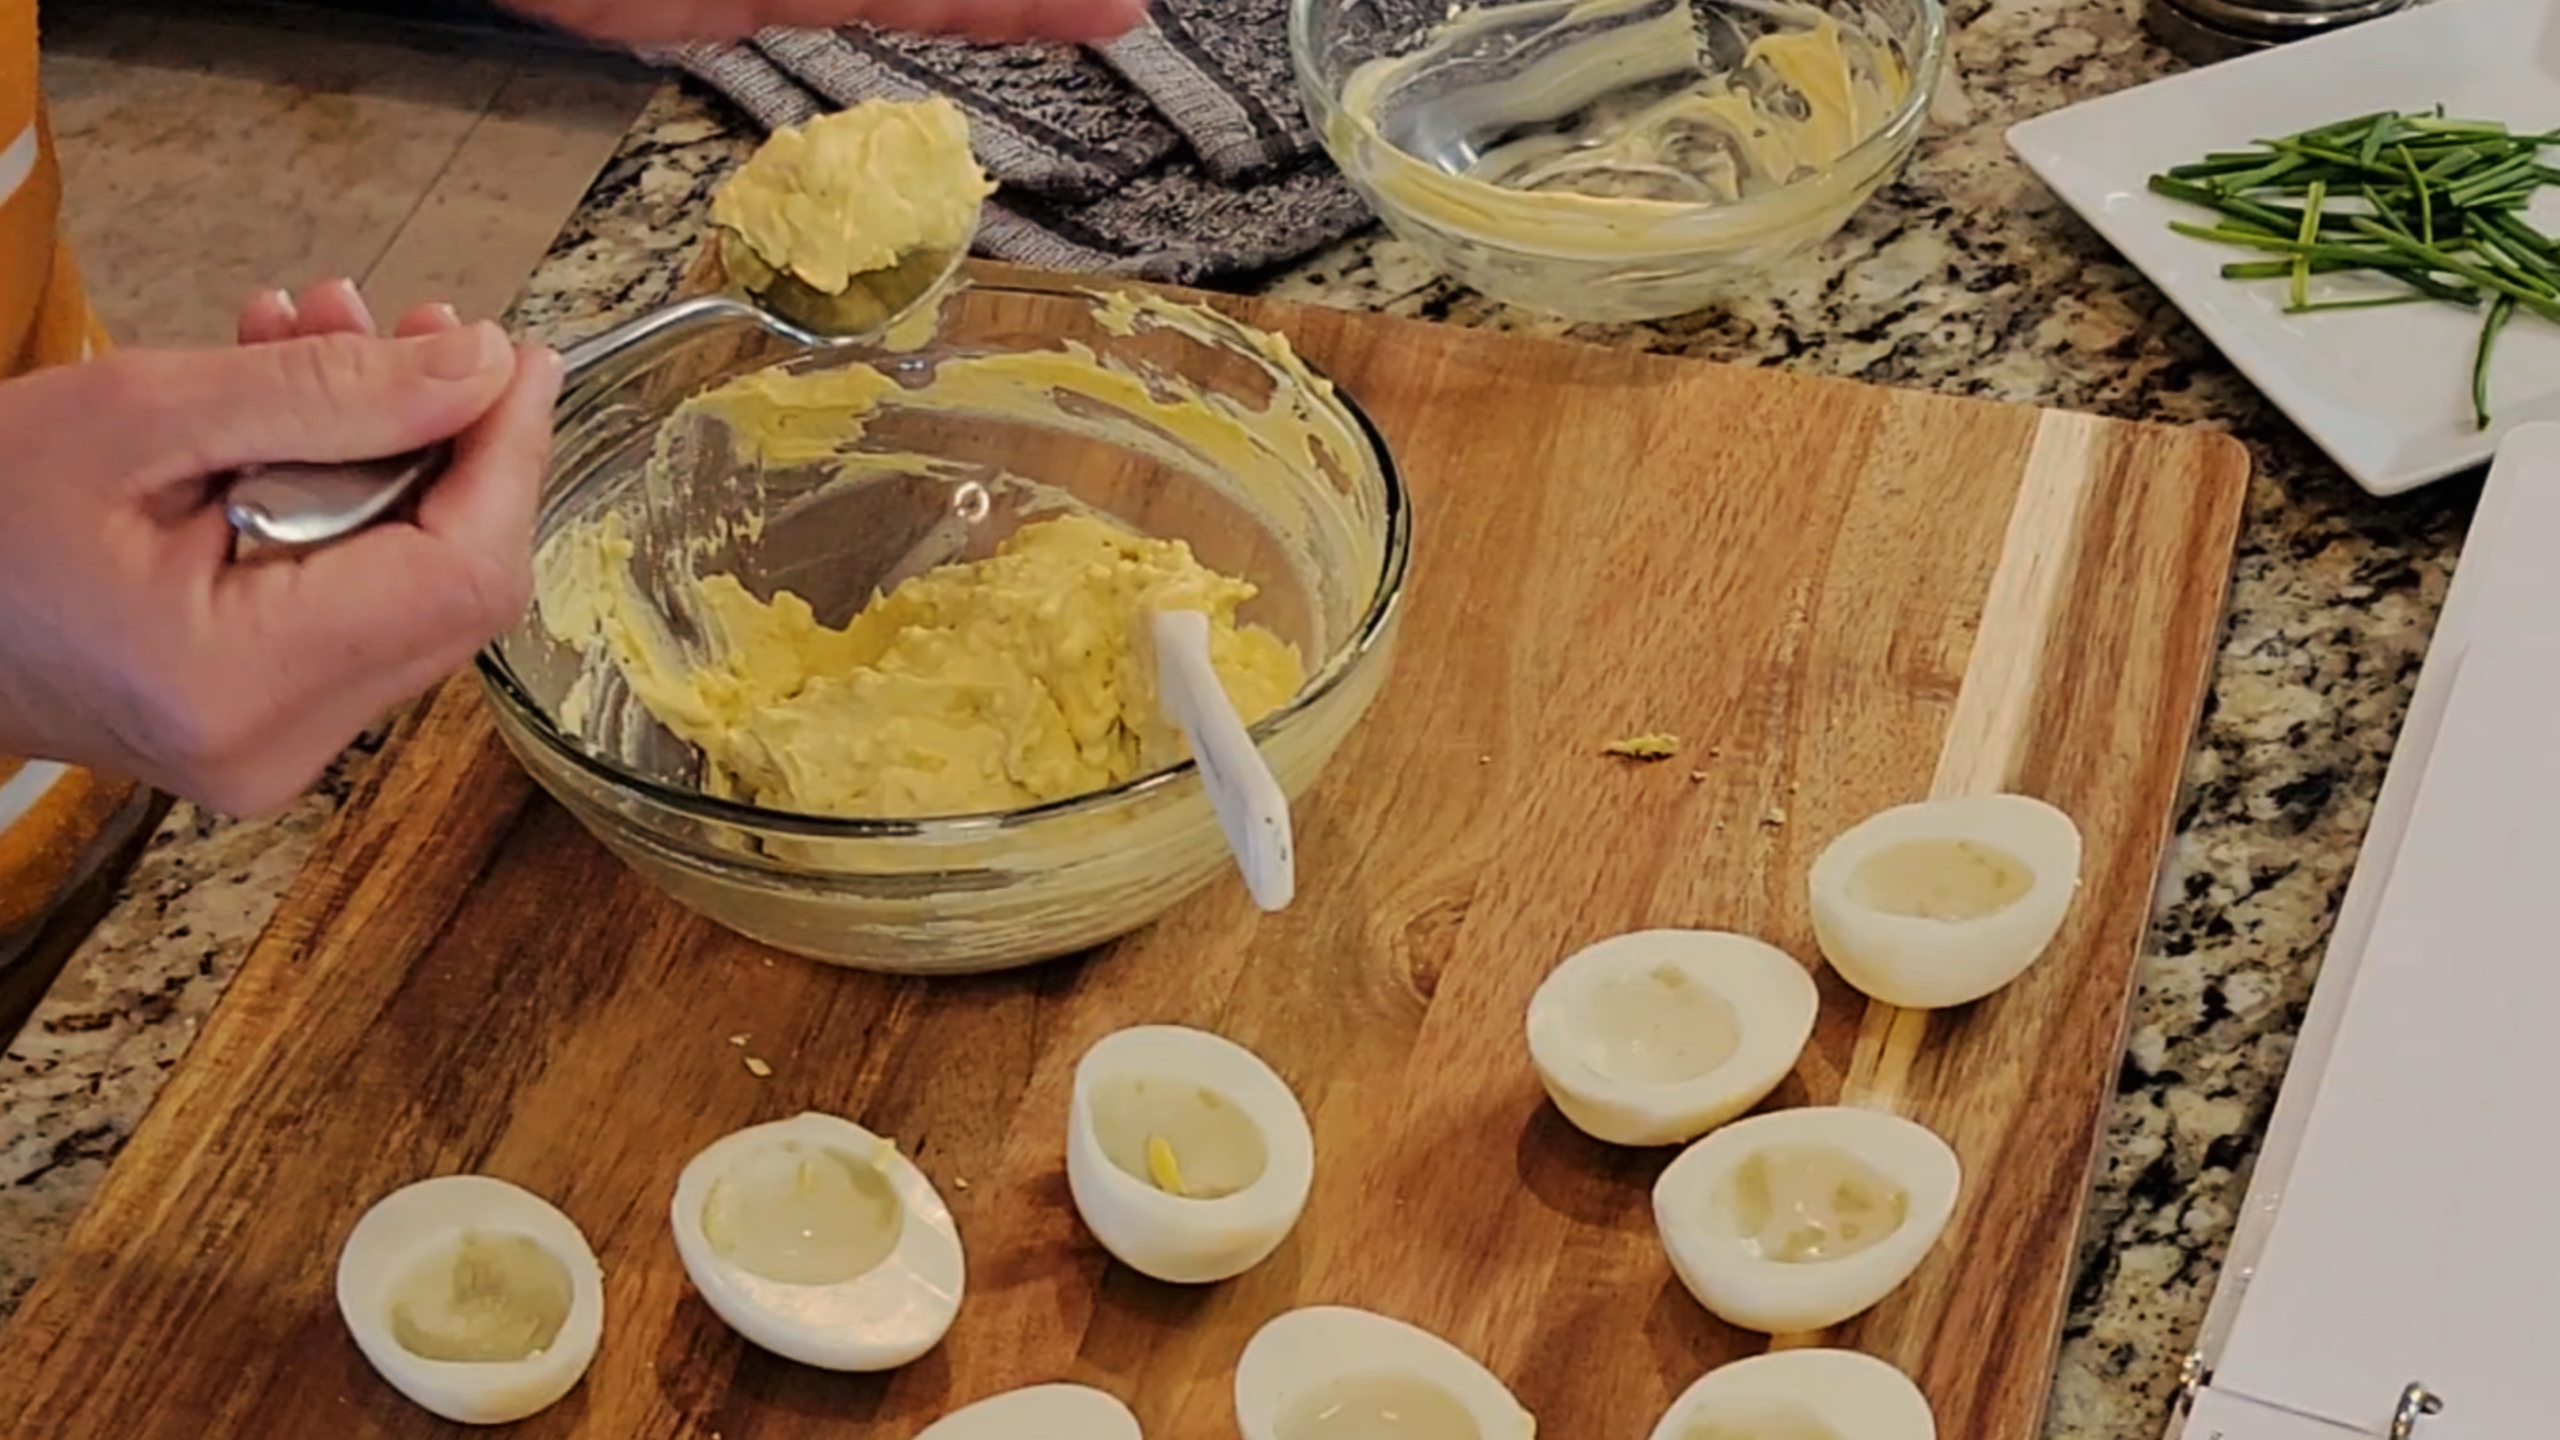
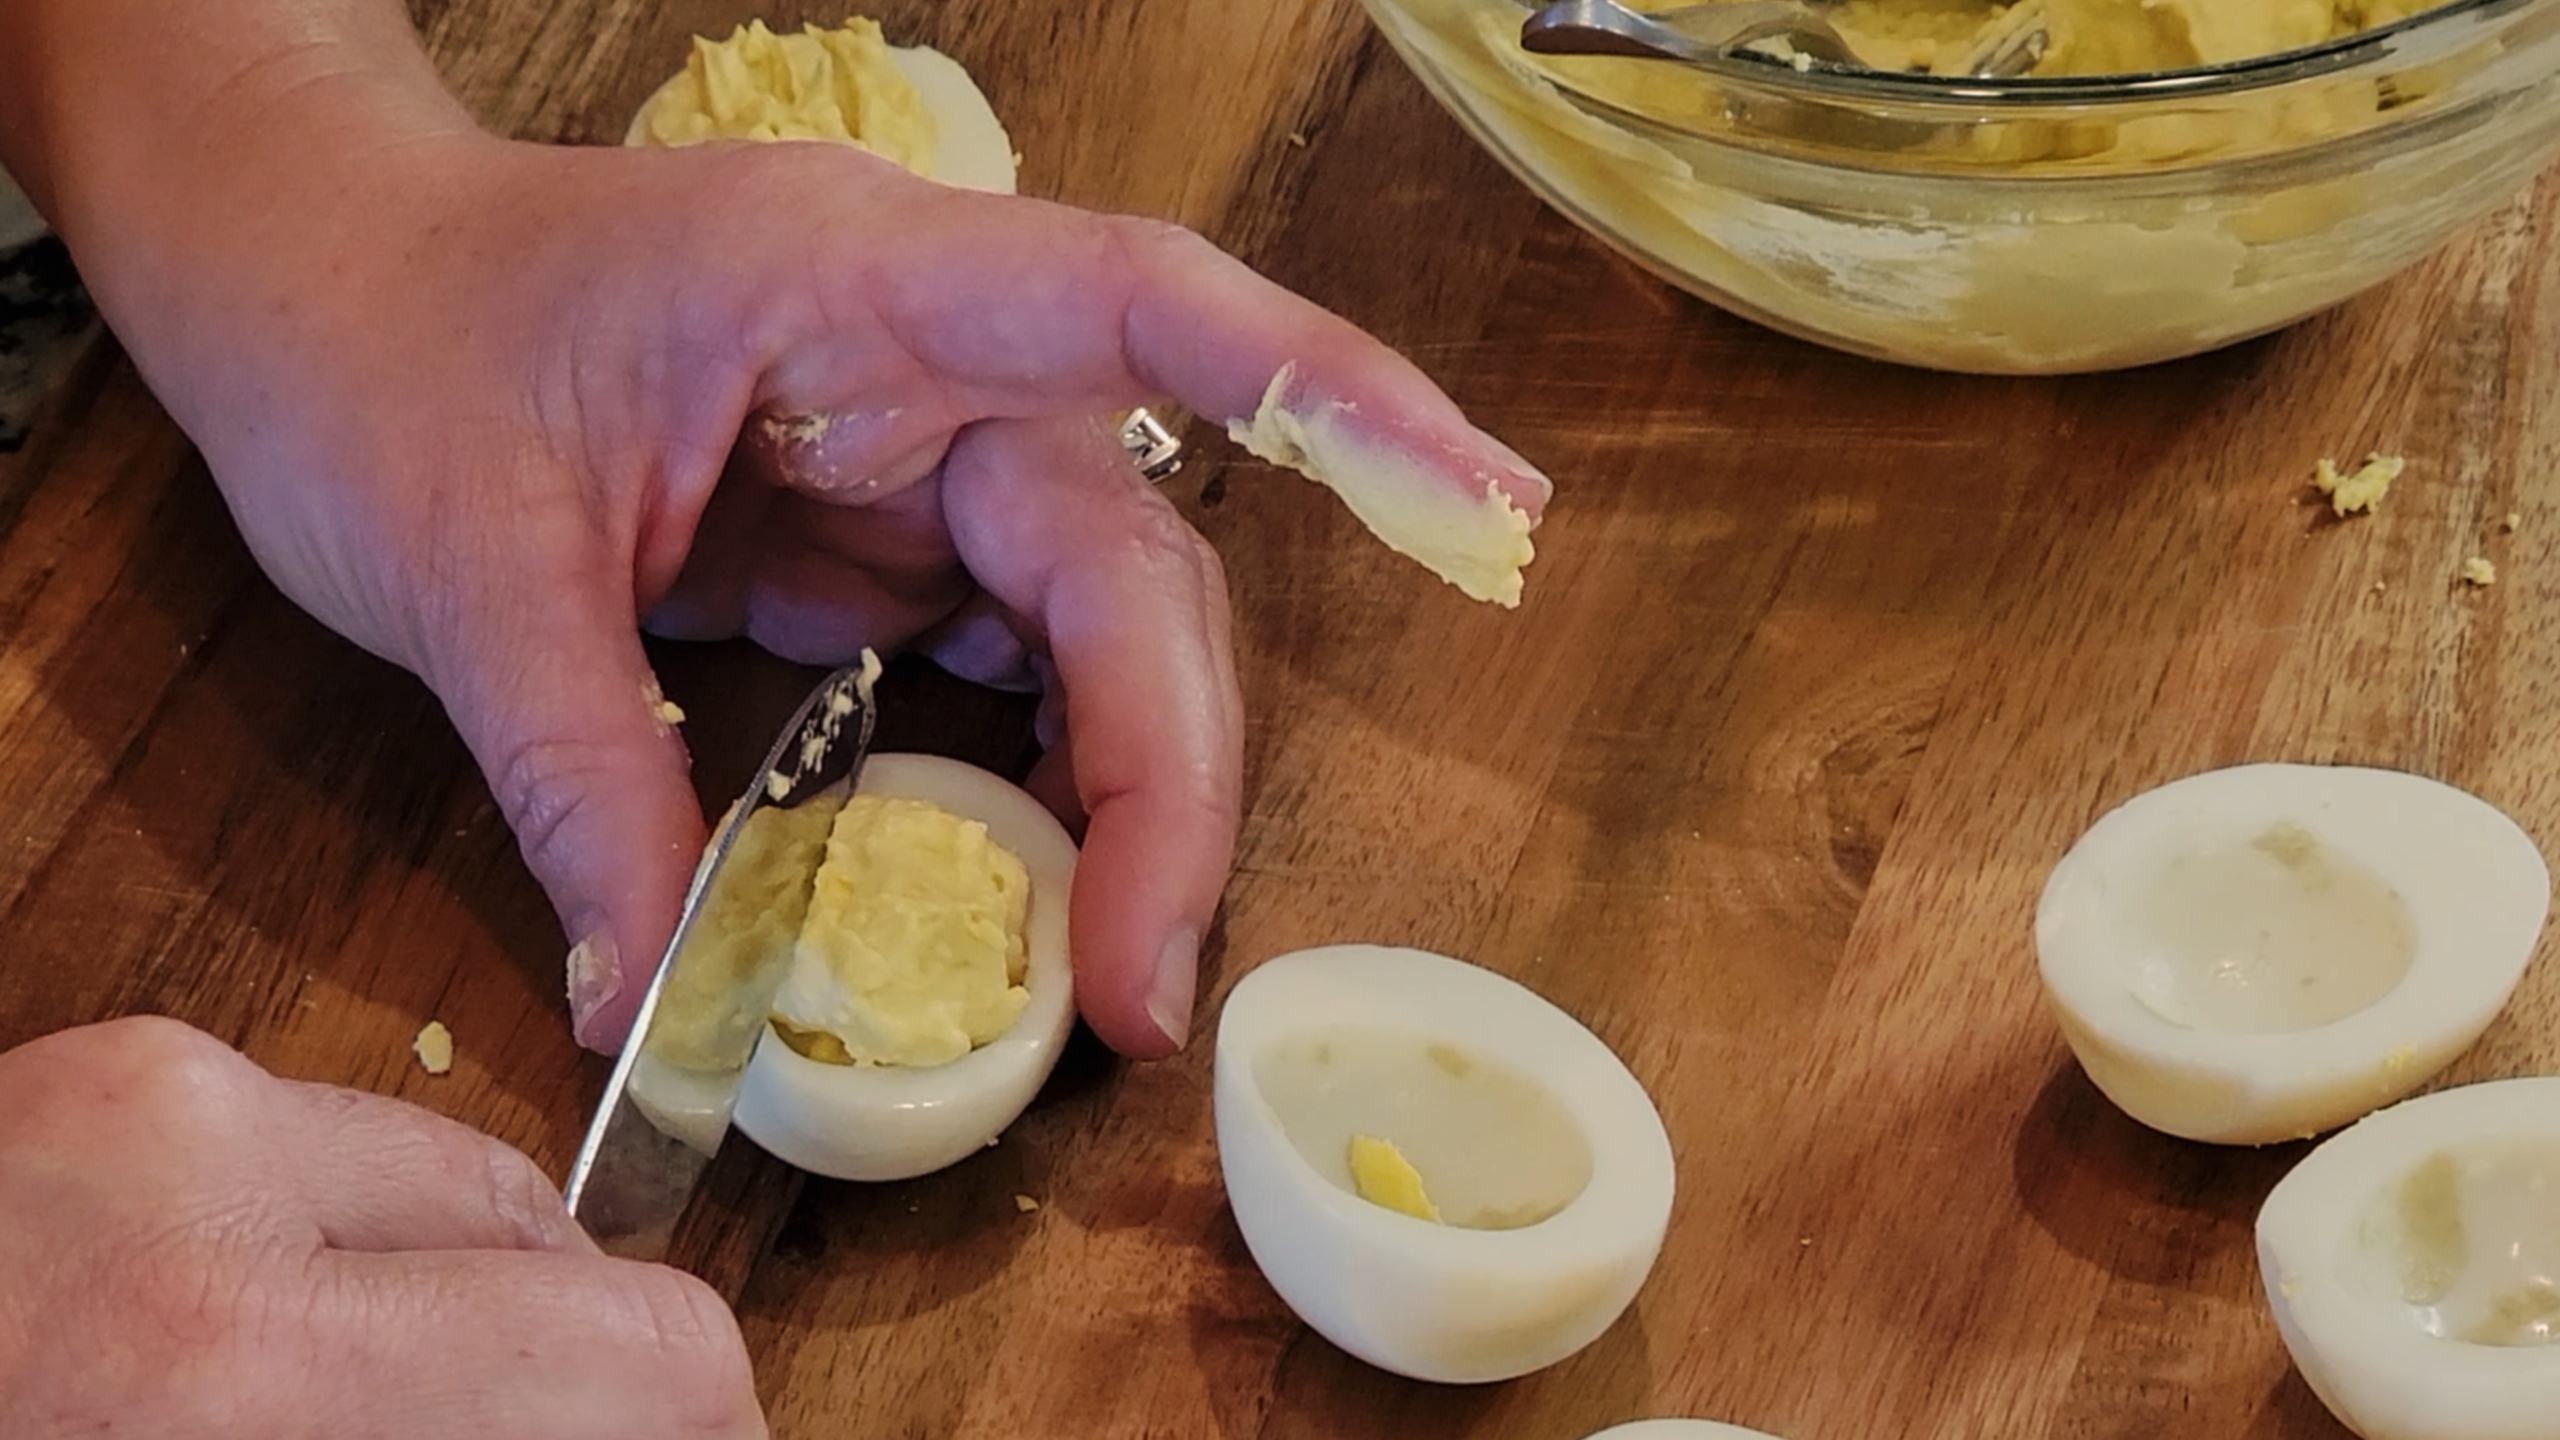
Scoop about 2 tsps of the mixture into a spoon and roll it until it is round. Place in an egg white and press the yolk mixture down with your fingers to fill the egg white.
NOTE: I didn’t get mine to do this. It was way too wet.
Step 4: Make 3 to 4 Indents
Using the back of a knife, make 3-4 indents in the yolk mixture to resemble pumpkin sections. Top with a ¼-½ inch chive. Sprinkle with paprika or cayenne if you prefer.
Conclusion
This recipe had lots of 5-Star reviews, which is why I tried it. Honestly, I can’t see how. Skip this one and use your tried and true deviled egg recipe. I’ll keep looking for one that tastes good and gives us all the cuteness of Fall.
Leave a Comment
Salted Caramel
/0 Comments/in Fall Intermediate 15-30 Minutes, 20-30 Minutes Yes Moderate Success/by Calisse
Salted Caramel Sauce
Recipe Overview
Salted Caramel…..yes, please! This batch of Salted Caramel was made to go on our Salted Caramel Apple Pie Bars from Sally’s Baking Addiction, but I’d put this on almost anything. In fact, if I’m honest (and I always am) this caramel went on ice cream too, and maybe a spoonful snuck from the fridge on more than one late night. Sally knows her stuff, and I’m glad she’s addicted to baking.
Ingredients List
- 1 cup granulated sugar
- 6 Tbsp salted butter, room temperature cut up into 6 pieces
- ½ cup heavy cream, at room temperature
- 1 tsp salt
Step 1
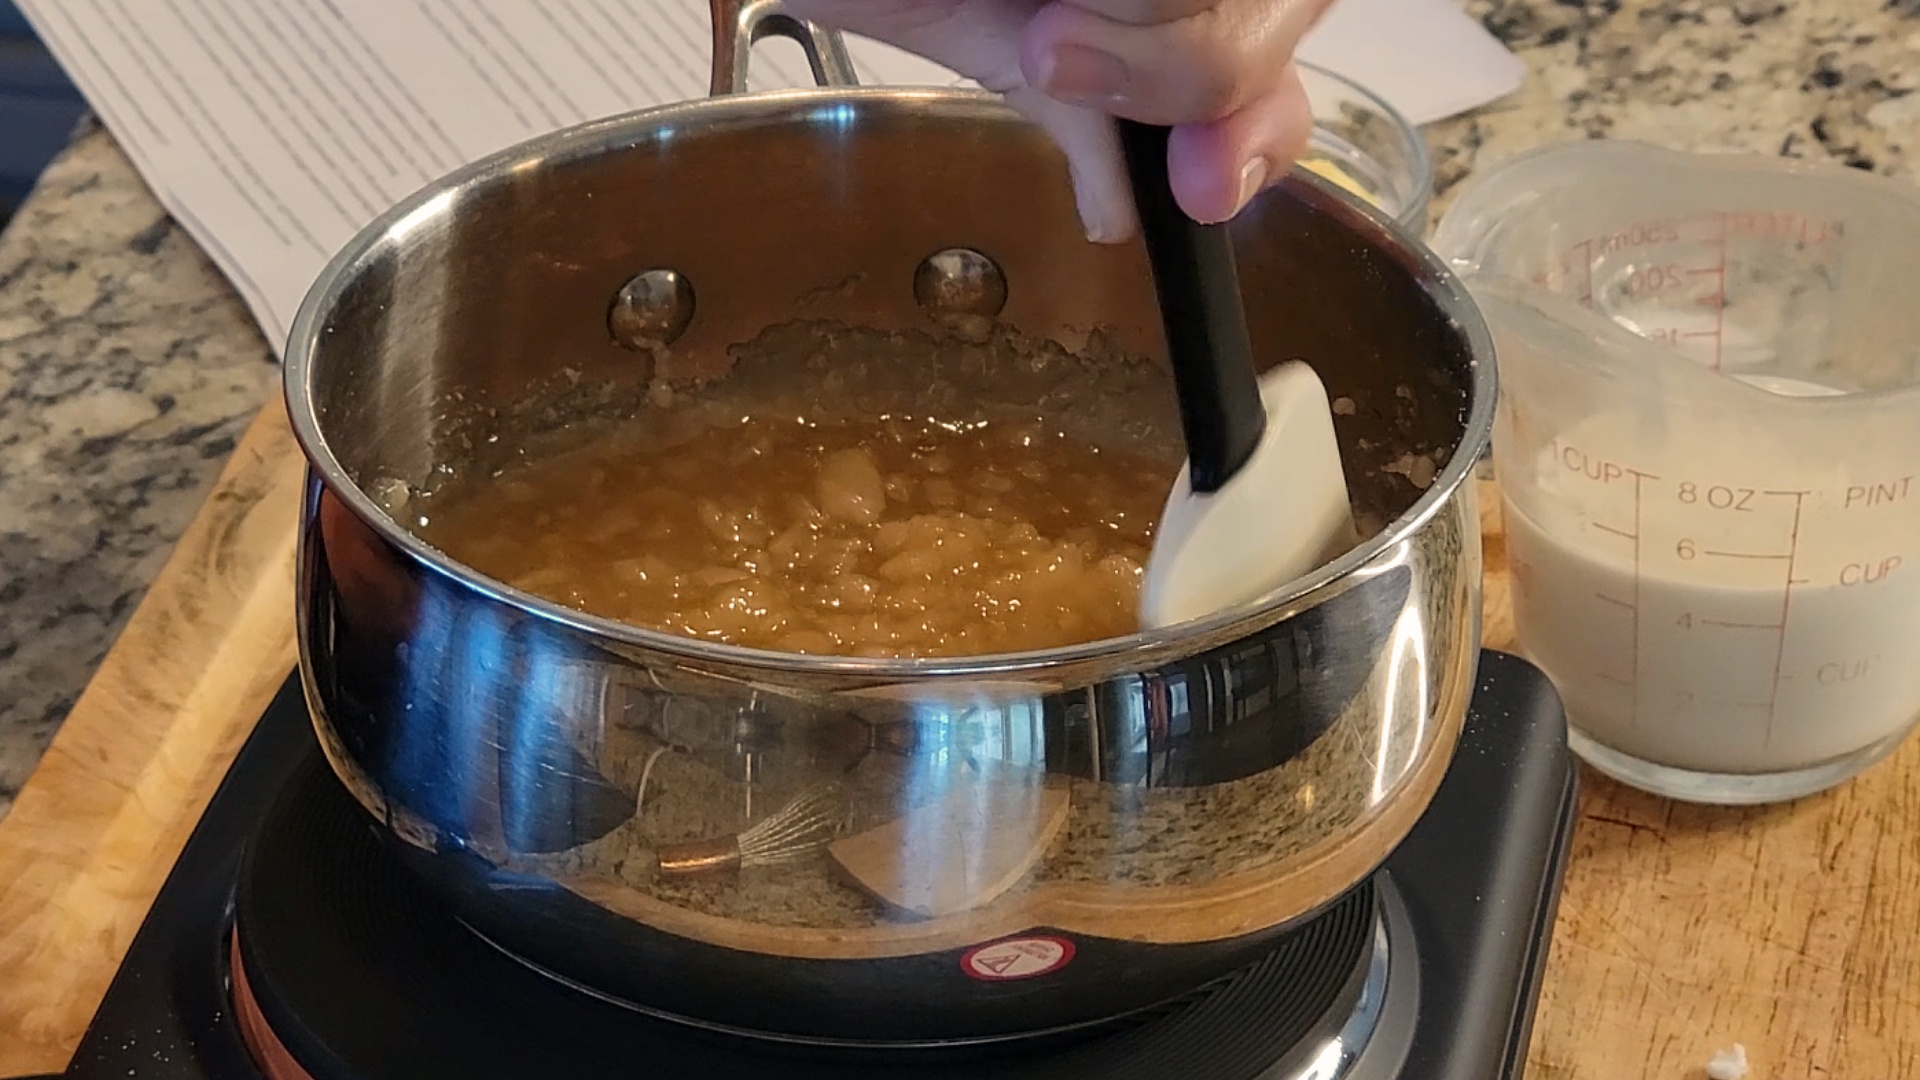
Heat granulated sugar in a medium heavy-duty saucepan (avoid using non-stick) over medium heat, stirring constantly with a high heat resistant rubber spatula or wooden spoon. Sugar will form clumps and eventually melt into a thick brown, amber-colored liquid as you continue to stir. Be careful not to burn it.

Step 2
Once sugar is completely melted, immediately stir in the butter until melted and combined. Be careful in this step because the caramel will bubble rapidly when the butter is added. If you notice the butter separating or if the sugar clumps up, remove from heat and vigorously whisk to combine it again. (If you’re nervous for splatter, wear kitchen gloves. Keep whisking until it comes back together, even if it takes 3-4 minutes. It will eventually– just keep whisking. Return to heat when it’s combined again.)
Step 3
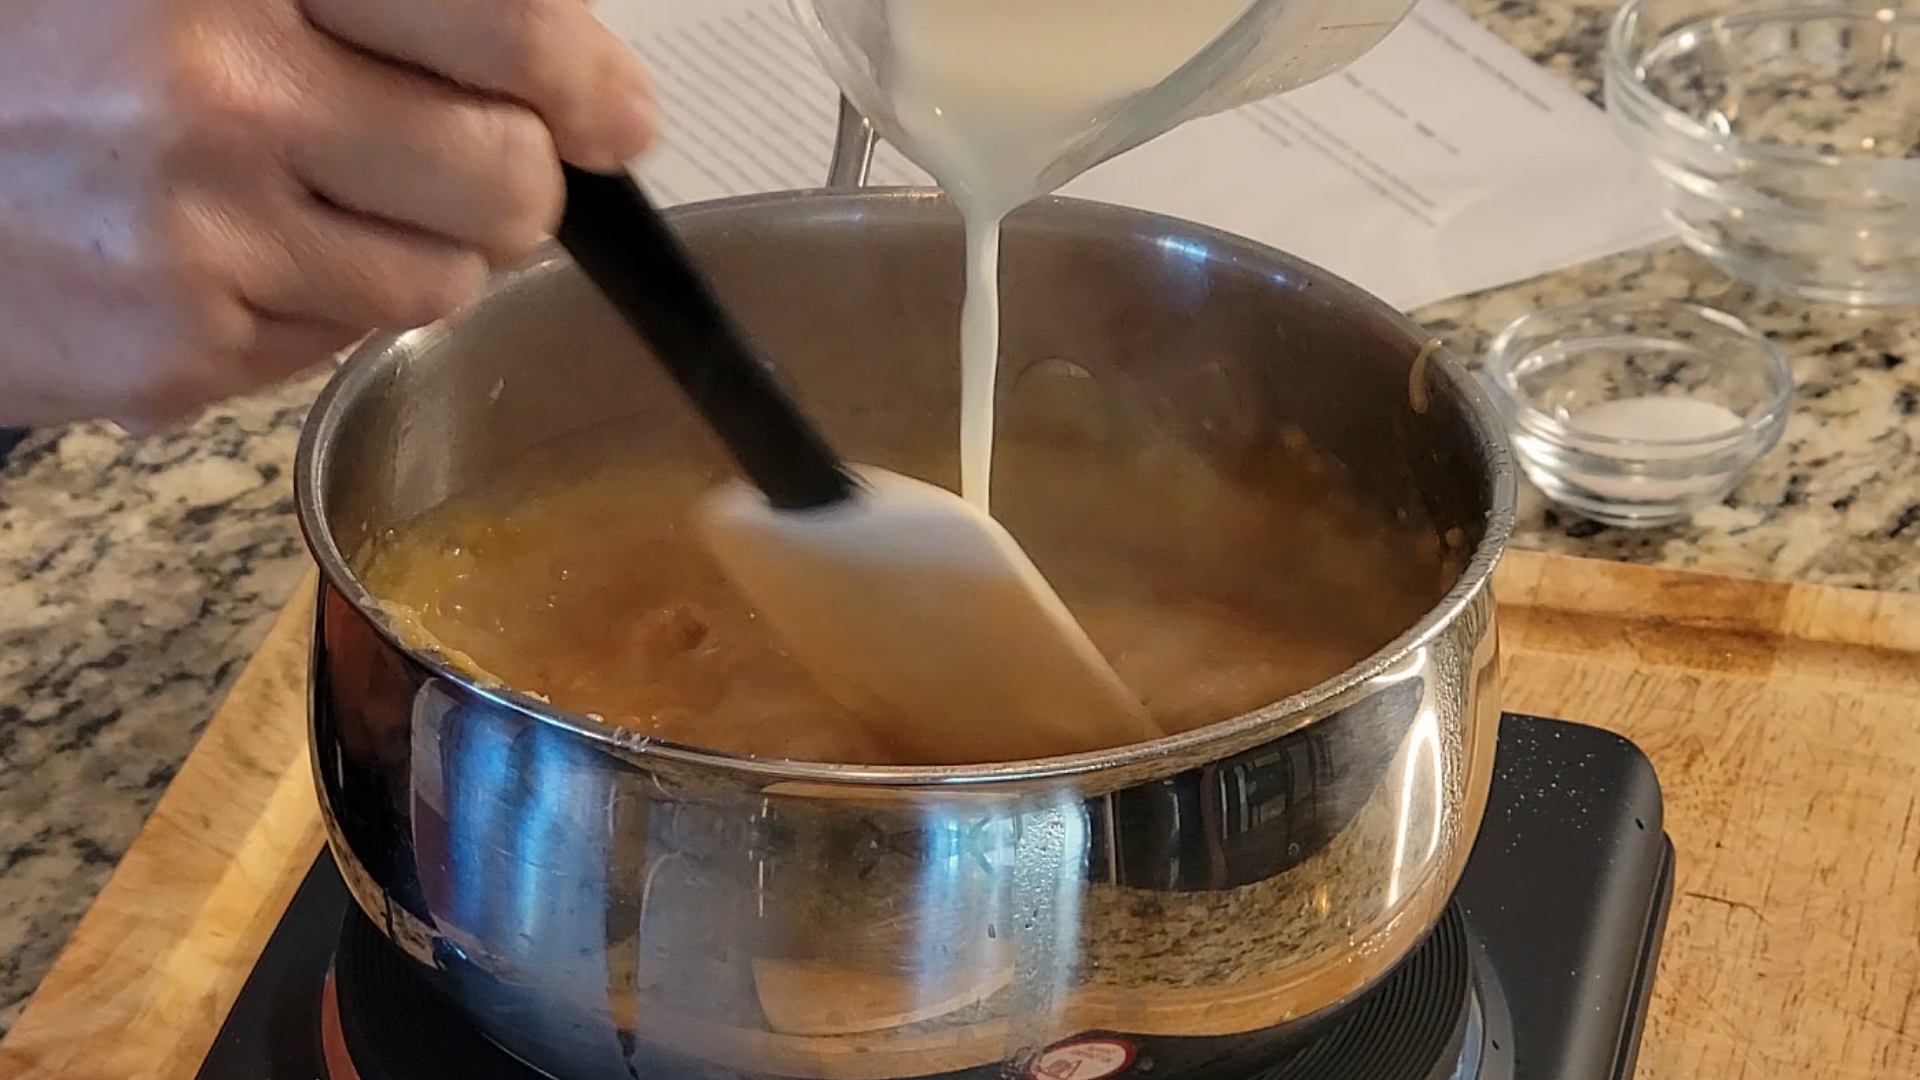
After the butter has melted and combined with the caramelized sugar, cook for 1 minute without stirring.
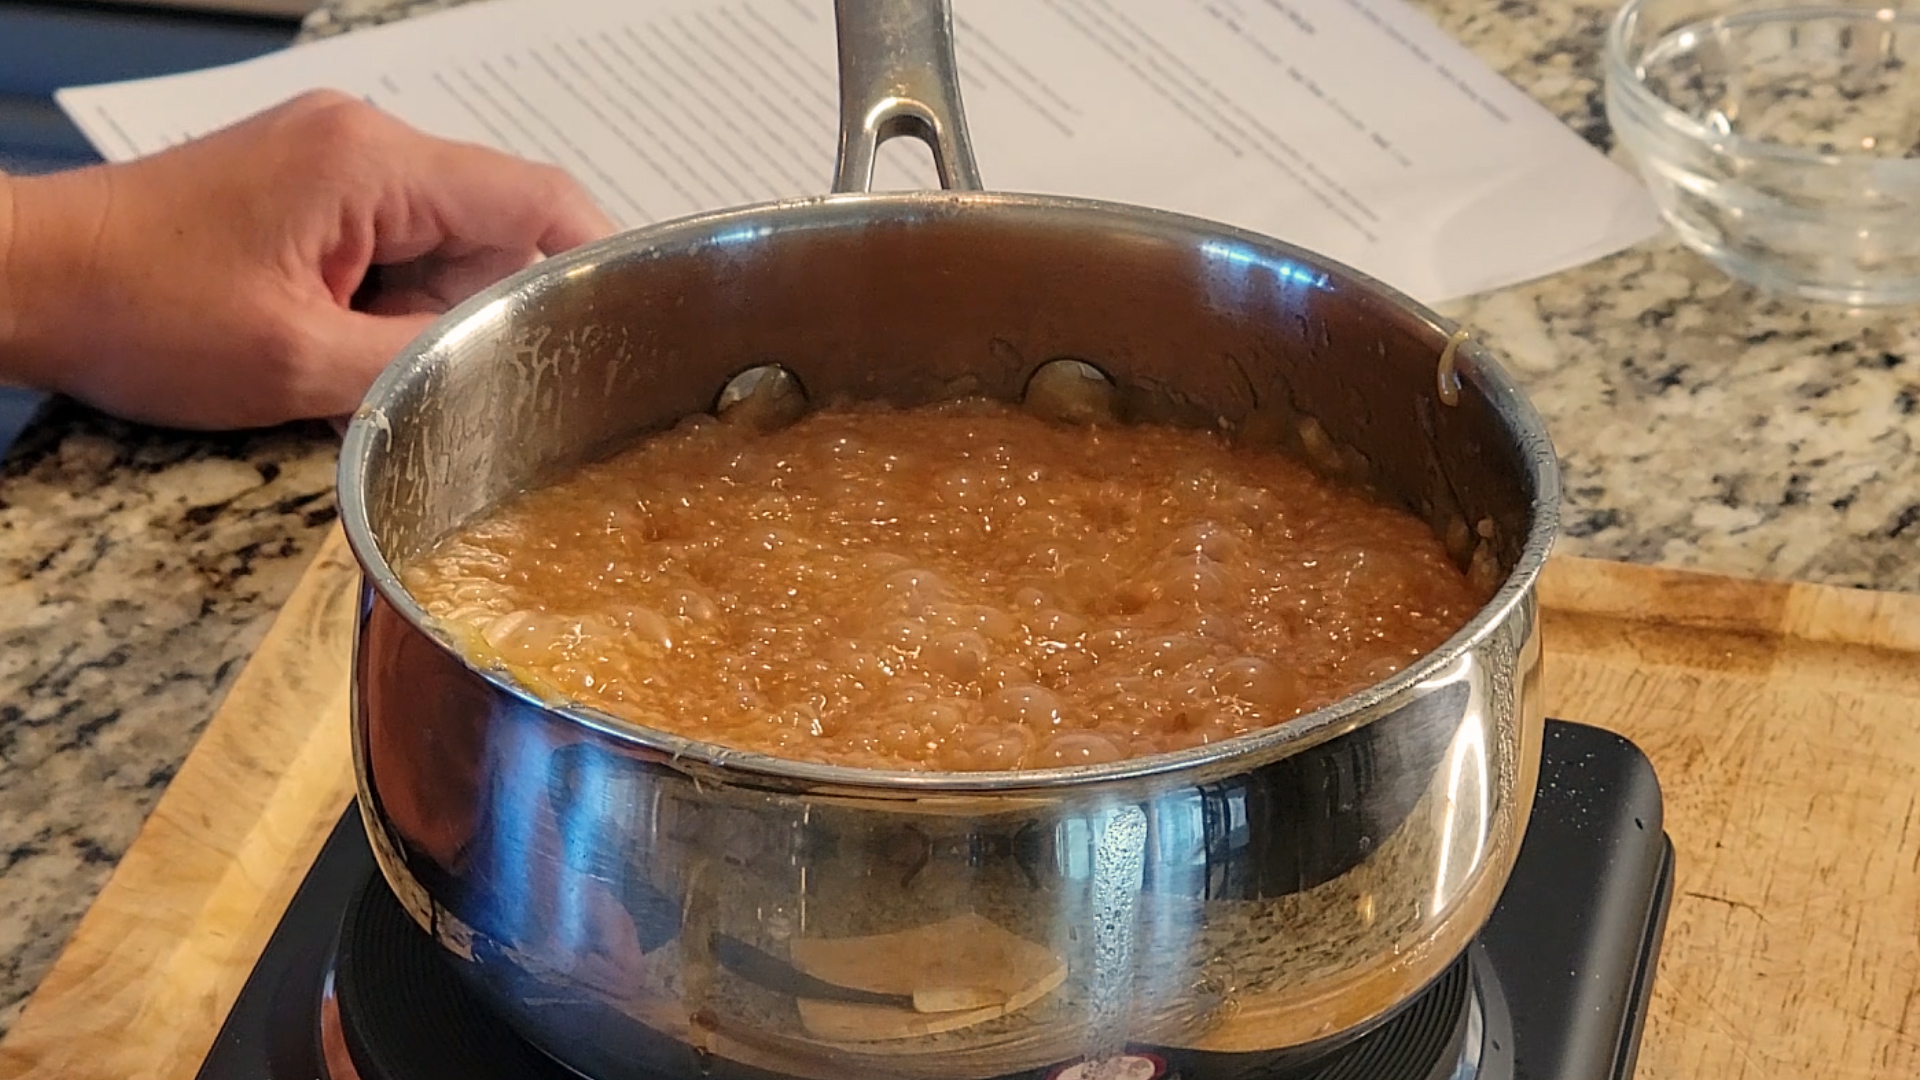
Very slowly stir in 1/2 cup of heavy cream. Since the heavy cream is colder than the hot caramel, the mixture will rapidly bubble when added. After all the heavy cream has been added, stop stirring and allow to boil for 1 minute. It will rise in the pan as it boils.
Step 4
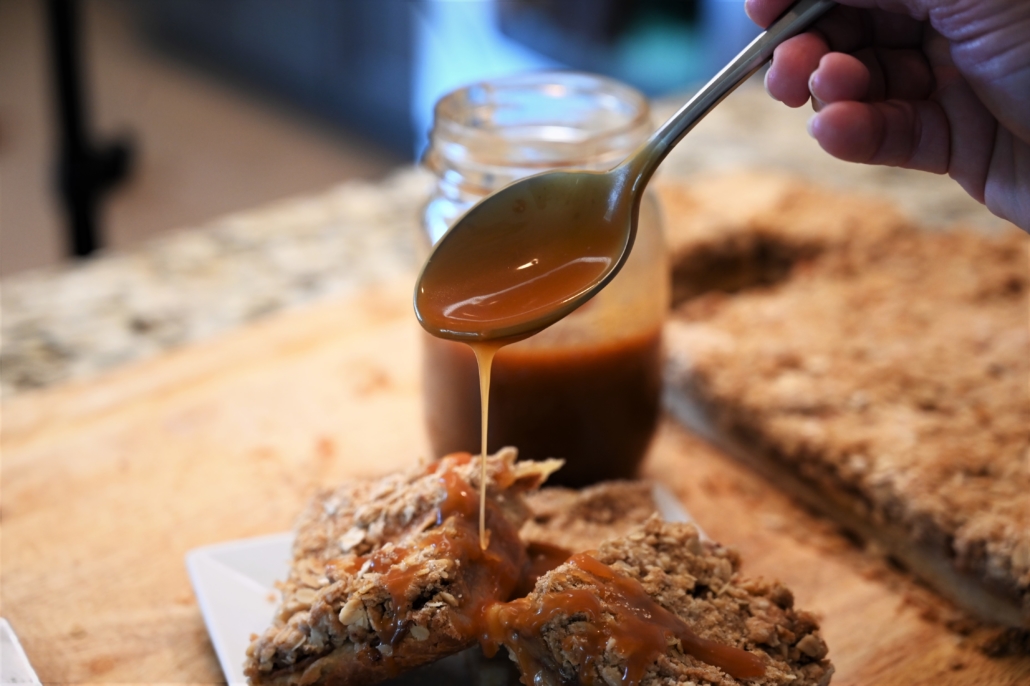
Remove from heat and stir in the salt. Allow to slightly cool down before using. Caramel thickens as it cools.
Cover tightly and store for up to 1 month in the refrigerator. Caramel solidifies in the refrigerator. Reheat in the microwave or on the stove to desired consistency.
NOTE: If you want to make regular caramel, reduce salt to 1/2 teaspoon. Do not leave it out completely.
Conclusion
While making your own caramel can be daunting, I promise you can do it with this recipe. Trust the steps and you’ll wonder why you didn’t make this earlier. This is a real life winner!
Leave a Comment
This site uses cookies. By continuing to browse the site, you are agreeing to our use of cookies.
Accept settingsCookie and Privacy Settings
We may request cookies to be set on your device. We use cookies to let us know when you visit our websites, how you interact with us, to enrich your user experience, and to customize your relationship with our website.
Click on the different category headings to find out more. You can also change some of your preferences. Note that blocking some types of cookies may impact your experience on our websites and the services we are able to offer.
These cookies are strictly necessary to provide you with services available through our website and to use some of its features.
Because these cookies are strictly necessary to deliver the website, refusing them will have impact how our site functions. You always can block or delete cookies by changing your browser settings and force blocking all cookies on this website. But this will always prompt you to accept/refuse cookies when revisiting our site.
We fully respect if you want to refuse cookies but to avoid asking you again and again kindly allow us to store a cookie for that. You are free to opt out any time or opt in for other cookies to get a better experience. If you refuse cookies we will remove all set cookies in our domain.
We provide you with a list of stored cookies on your computer in our domain so you can check what we stored. Due to security reasons we are not able to show or modify cookies from other domains. You can check these in your browser security settings.
We also use different external services like Google Webfonts, Google Maps, and external Video providers. Since these providers may collect personal data like your IP address we allow you to block them here. Please be aware that this might heavily reduce the functionality and appearance of our site. Changes will take effect once you reload the page.
Google Webfont Settings:
Google Map Settings:
Google reCaptcha Settings:
Vimeo and Youtube video embeds:
You can read about our cookies and privacy settings in detail on our Privacy Policy Page.
Privacy Policy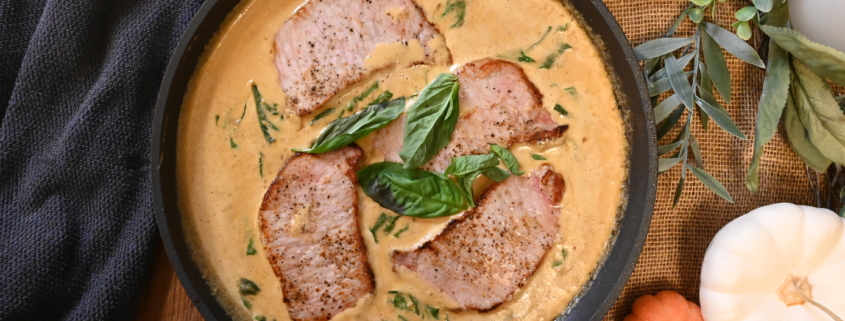

Leave a Comment